Practical guide
Creating an app with AI: from briefing to tested project
Your own app starts with a description. Using a task planner as an example, you can see how to turn an idea into a usable project, add features in chat, and publish the result.
1. Describe the work your app should make easier
Start with the target group, the problem, and the most important workflow. “Build a project management app” leaves many decisions open. More meaningful is: “A small team should create projects, assign tasks, and see their progress. A new task must appear immediately in the selected project after saving.” This turns a general idea into a concrete expectation.
Add roles and data: Who may edit projects? Which fields does a task need? Which information is required? Also state what is not needed at first. A clearly scoped first version is easier to check than a long wish list in which everything is important at once.
2. A briefing you can adapt
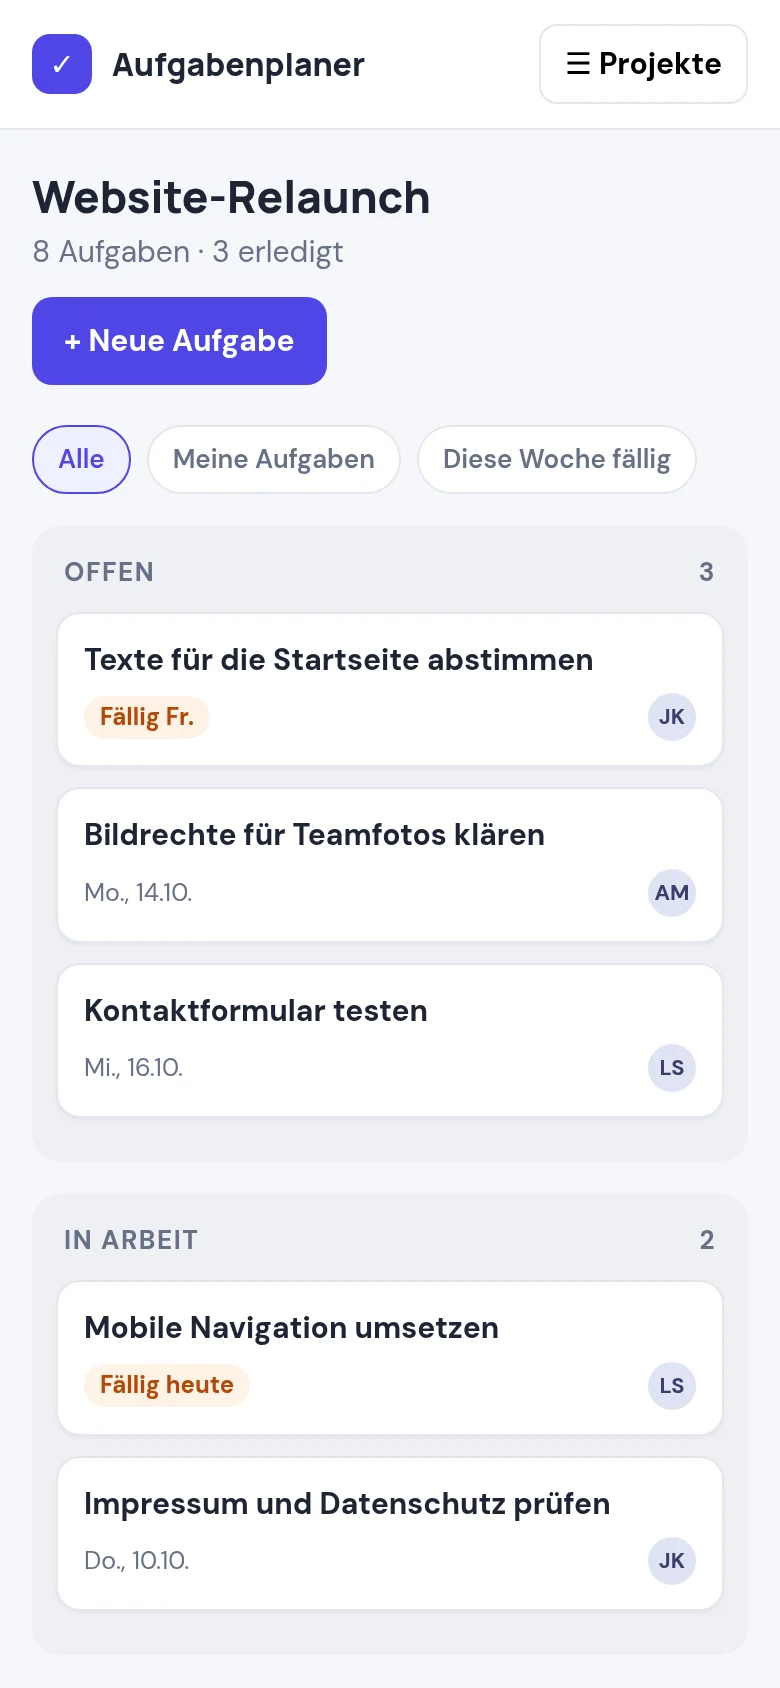
Create a task planner for a small team. Projects contain tasks with title, description, status, and due date. The interface has project navigation and a task list. New projects appear directly in the navigation. New tasks appear in the list after saving. Editing takes place in a modal. Empty inputs are explained in an understandable way. The app must be usable on a smartphone. First plan the data model and main workflows; name open decisions.
For a real project, additionally describe sign-in, permissions, and storage. A local demonstration and a multi-user app have different requirements. Example values should not contain confidential customer data.
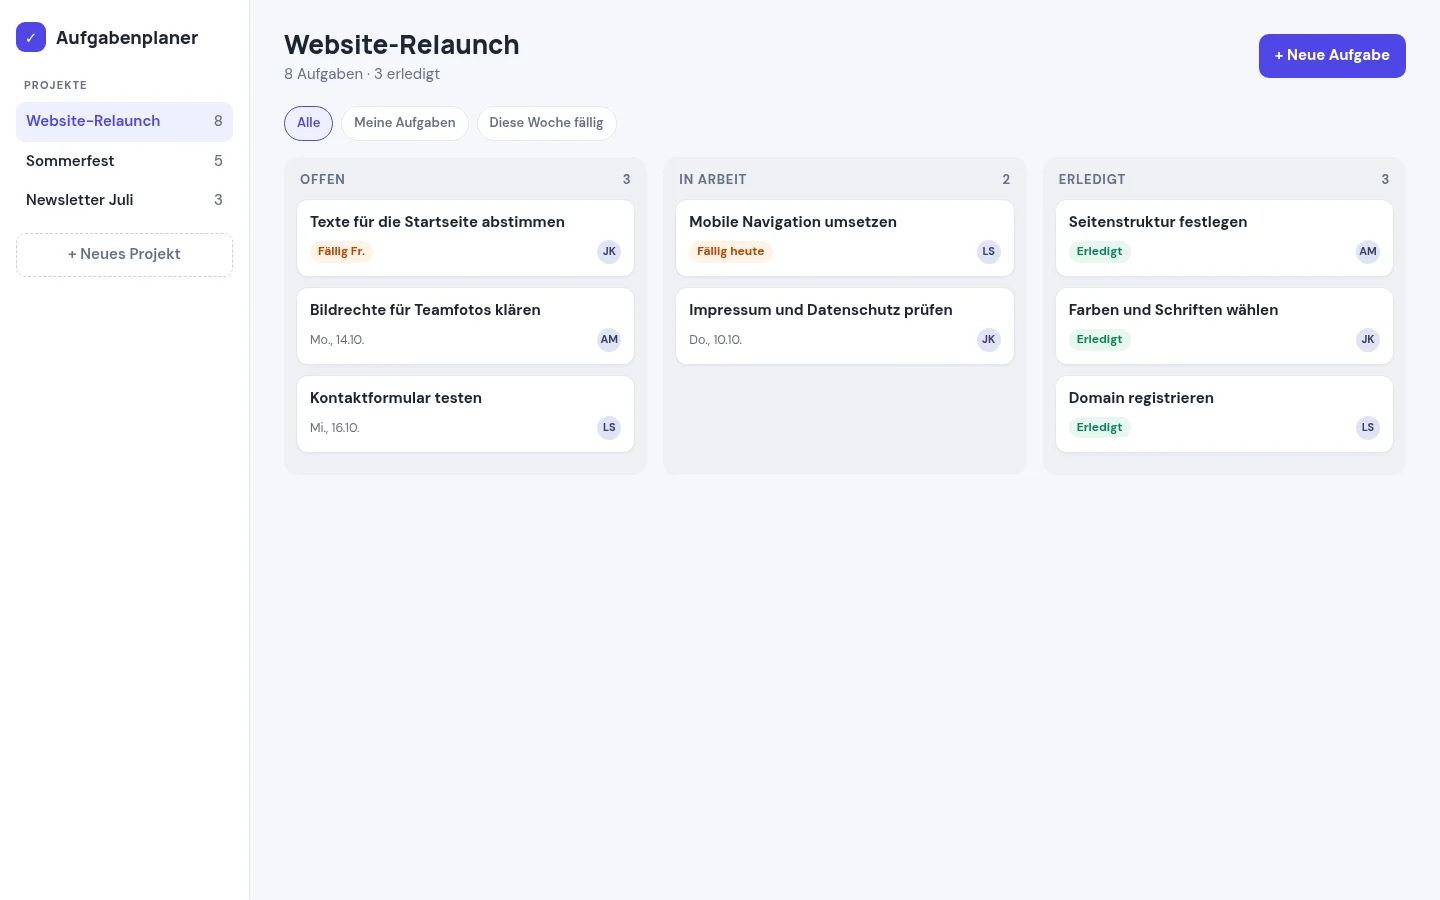
3. Develop one complete workflow at a time
Start with a small, end-to-end workflow: create a project, create a task, edit a task, find the result again. Only when this path works, add filters, reports, or additional roles. In the LXI Maker you can track the plan and progress and describe changes in chat.
When giving feedback, explicitly state what should stay. For example: “Modernize the task modal. Keep the navigation, data model, and existing features.” Refer to the current interface and describe what should be different. A screenshot helps with visual details; a reproducible sequence helps with functional errors.
4. Experience your app from the users’ perspective
A message like “Saved” does not yet prove that the data was processed correctly. Use different test names per workflow and check whether the new entry appears in the correct list. Reload the page and check the storage. Then test editing and, for dispensable test data, deleting.
- Main workflow: Valid input leads to the expected result.
- Error case: Missing required fields are explained, existing data is preserved.
- Navigation: Back, filters, and empty lists work in a traceable way.
- Mobile: Menus, dialogs, and buttons are reachable without horizontal scrolling.
- Permissions: Unauthorized accounts cannot read or change other people’s data.
Automated tests are important support, but they do not replace professional approval or a security check for sensitive applications. Record which requirements were checked and which are still open.
5. Publish your app and keep developing it
Try the most important workflows in the preview and publish your web project directly from the Maker. The complete source code is available for download. With saved versions and targeted follow-up tasks, you keep developing your app.
Domain and hosting give your project a fixed place on the web. The guide to domains and hosting helps you choose. For connections to business systems and your own infrastructure, we will develop an individual solution with you.